A dental emergency never waits for a good time. Pain flares up at midnight. A crown falls off the morning of a big trip. A tooth cracks right in the middle of a meal, without a single warning. For most people, that first moment of shock comes with a wave of confusion, unsure whether to call their dentist, search for a patient-centered dental clinic nearby, or just wait and hope things settle on their own. Knowing you have a dedicated dentistry team ready to step in during those moments changes everything.
This guide covers exactly what to do when a dental emergency happens in Plano, TX, where to go, and what to expect when you call our office.
Recognizing a True Dental Emergency
Before anything else, it helps to know whether your situation genuinely warrants urgent care or whether it can wait for a standard appointment.
Situations that need same-day attention include severe tooth pain that doesn’t let up, a knocked-out or broken tooth, a lost crown, visible swelling in the jaw or face, a dental abscess, or any mouth injury involving significant bleeding or trauma. If you’re unsure whether your situation qualifies, calling a dental office directly and describing your symptoms is the fastest way to find out. A short conversation is usually enough to triage accurately.
What to Do While You Wait
Once you’ve called and confirmed a same-day appointment, there are practical steps that can make the wait more manageable.
For pain, over-the-counter medication taken as directed is appropriate. Avoid placing aspirin directly against the gum or tooth tissue, as this can irritate the area rather than help it. A cold compress applied to the outside of the jaw can reduce swelling and provide some relief.
With a knocked-out tooth, handle it by the crown and rinse it gently with water. Place it back in the socket if you’re able to, or keep it submerged in milk until you arrive at the office. Getting in within 30 minutes gives the tooth its best chance of being reattached.
A lost crown is a different situation. Avoid eating on that side of your mouth and try to locate the crown so you can bring it with you. Don’t attempt to cement it back yourself if the tooth underneath is already causing pain.
Why the Emergency Room Isn’t the Right Answer for Most Dental Problems

Many people head to a hospital emergency room during a dental emergency, particularly when it happens outside of business hours. This makes sense as a first instinct, but emergency rooms are not equipped to resolve dental problems.
An ER can prescribe antibiotics and pain medication, but it cannot extract a tooth, perform a root canal, replace a crown, or treat an abscess at its source. What the ER provides is temporary relief, not a solution. The dental problem remains until you’re seen by a dentist, and going to the ER often adds hours of waiting to that process without fixing anything.
A dental office that offers genuine same-day emergency care is almost always the faster and more effective path.
What Happens When You Call Our Office
When you call us about a dental emergency, you won’t be placed on hold and offered the first opening three weeks out. We assess the situation when you call and schedule emergency patients the same day.
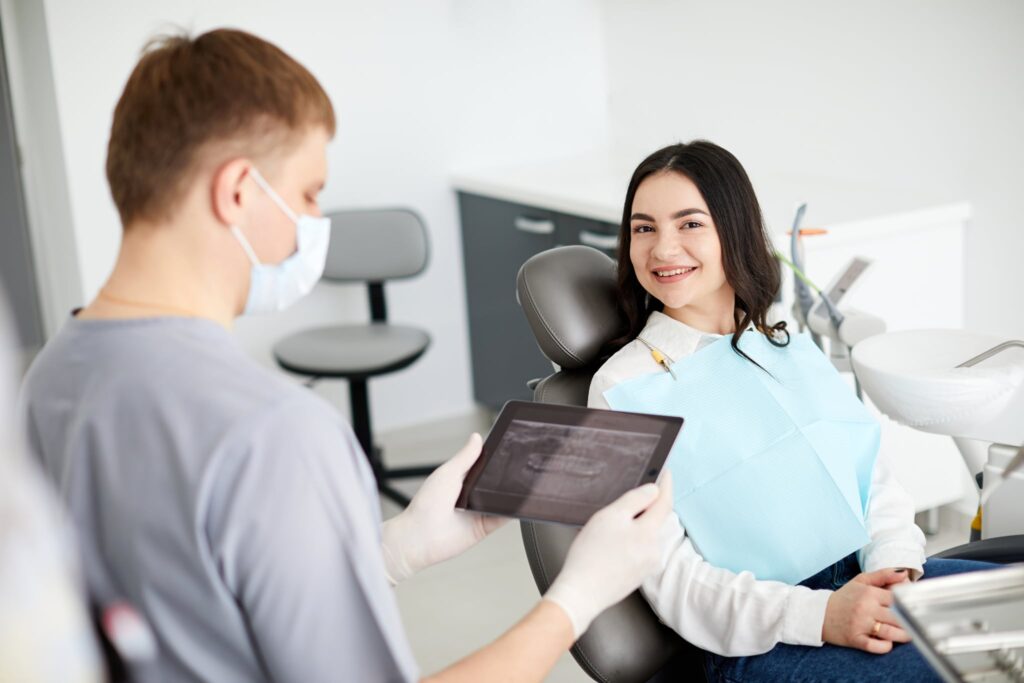
Our team will ask you to describe your symptoms clearly so we can understand what you’re dealing with and prepare for your appointment. When you arrive, Dr. Hardin conducts a clinical exam of the affected area, takes digital X-rays to see what’s happening below the surface, and explains his findings before any treatment is recommended. Nothing is done without a clear explanation first.
Emergency Services We Provide
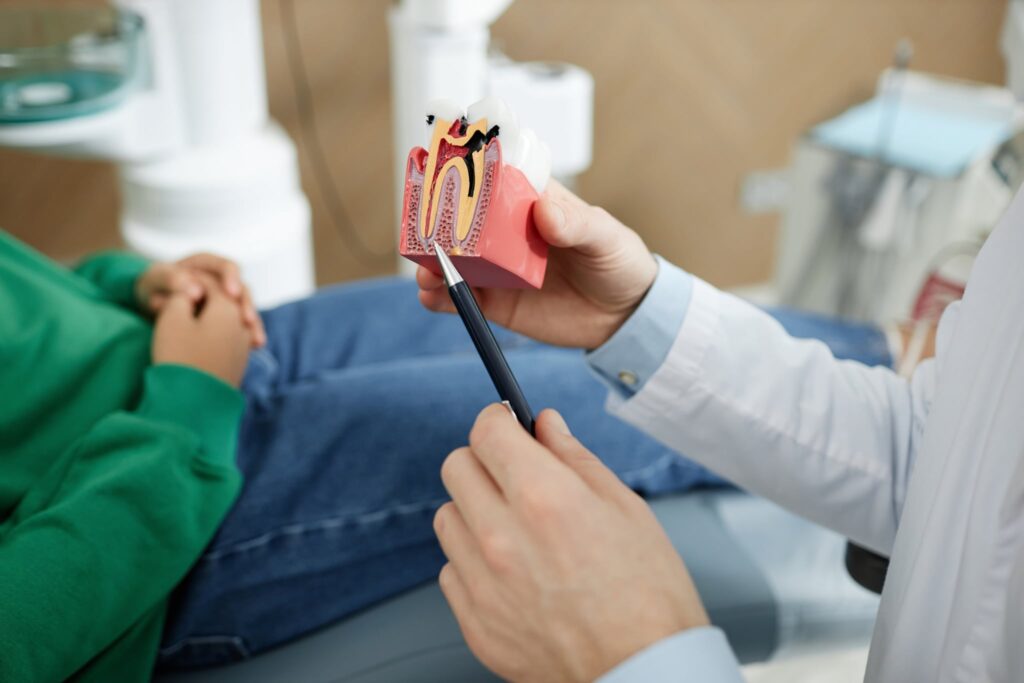
Our same-day emergency dental care covers the full range of urgent dental situations. That includes severe tooth pain, broken and cracked teeth, knocked-out teeth, lost crowns, abscesses, tooth extractions, and root canal therapy when it’s needed.
For patients who experience anxiety during dental procedures, both nitrous oxide and oral conscious sedation are available. You do not have to get through an emergency procedure without support if that’s a concern.
If you’re uninsured or have limited coverage, our in-house membership plan is $36 per month per person and provides preventive care plus 15% off other services, with no waiting period and no deductible. CareCredit, Cherry, and Lending Club financing are available for treatment costs that need to be spread over time.
Related Topics: